
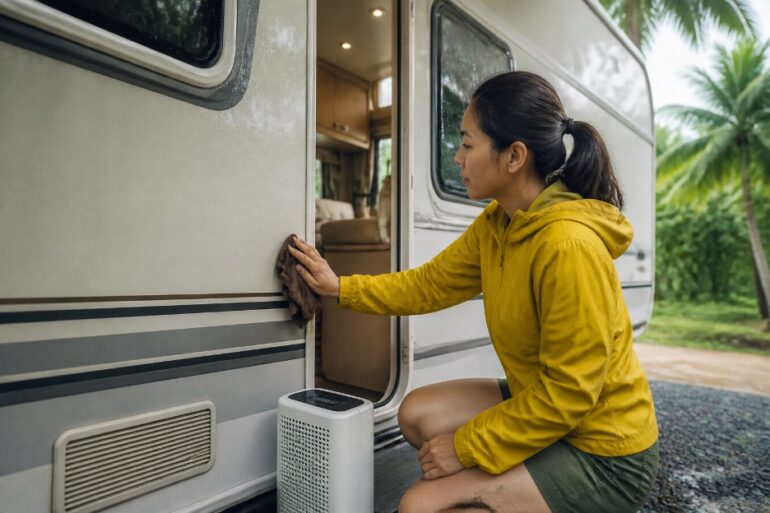
Caravan mould prevention in humid Southeast Asia is mostly a moisture-control job, and it has to work when monsoon rain limits how much you can open up and mains power is not always on offer. The good news is that moisture arrives in a handful of predictable ways: rain getting in, wet shoes, towels and clothes coming inside, steam from cooking and showering, and condensation where warm, damp air meets a cool surface such as a window, an external wall or an air-conditioned panel.
It helps to separate everyday humidity from a leak. Humidity is general and tends to ease when conditions improve, whereas a leak is localised and repeats. A patch, stain or water track that reappears in the same place after rain needs investigating and repairing, and more airing will not solve it.
Below you will find a manageable daily routine, options for powered and off-grid stops, storage checks, and a clear next step if mould has already appeared. No routine guarantees a completely mould-free vehicle in the tropics, but these habits make growth much harder to establish.
Ventilate without letting monsoon rain inside
Start by dealing with steam where it is made. Use a fitted extractor fan while cooking and showering, keep the shower area as contained as you can, and wipe wet bathroom surfaces afterwards so the water does not simply evaporate back into the air. Where your van has rain-protected vents or hoods, use them as the manufacturer intends, and close exposed windows and rooflights whenever wind-driven rain could blow in. Leaving everything open through a monsoon downpour is not ventilation; it is ingress.
Permanent safety vents must stay clear at all times, including when you run air conditioning or a dehumidifier. Inside, give air room to move by avoiding cramming cupboards, leaving cupboard doors open while you are safely parked, and keeping bedding and cushions from pressing flat against external walls, which are the coolest surfaces and the first to collect condensation.
It is worth knowing where ventilation stops helping. Airflow disperses trapped steam and stagnant air, which is useful, but if the air outside is saturated, bringing more of it in will not dry the interior and in a long wet spell it may do the opposite. That is why the next step is measuring and drying rather than just airing.
Choose moisture control that matches your power supply
How to Keep Your Caravan Mould-Free on Humid Asia Road Trips- A Practical Guide for Tropical Travel
A small hygrometer is the cheapest way to stop guessing. Place it away from direct sunlight and extractor outlets, and try to keep interior relative humidity below 60% where practicable. In the tropics, especially off-grid, you may not always manage that, but the reading tells you whether your routine is working and when to step things up.
At powered stops, air conditioning that removes moisture, or a dehumidifier sized for your interior and the conditions, does the real drying. Check the campsite’s electrical capacity, your appliance’s power draw and where the condensate will drain, and while either is running, keep optional windows and doors shut so you are not drying the outdoors.
Off-grid, the priorities change. A typical leisure battery cannot sustain mains-powered drying equipment, so concentrate on keeping water out, extracting steam, and using any sheltered drying opportunity you find.
Be realistic about the small tools, too. Fans circulate air but do not remove water, and small moisture absorbers are mainly useful in enclosed cupboards rather than for drying a whole caravan. If dampness persists across several rainy stops, make a powered drying stop or use a laundry’s dryers instead of adding more fans or absorbers.
A daily caravan mould prevention routine for rainy travel
The routine works best as three short checks that follow the day.
- On arrival at camp: leave wet shoes and rainwear in a sheltered exterior spot where possible. If they must come inside, put them on a washable tray to contain drips and move them out to dry as soon as you can.
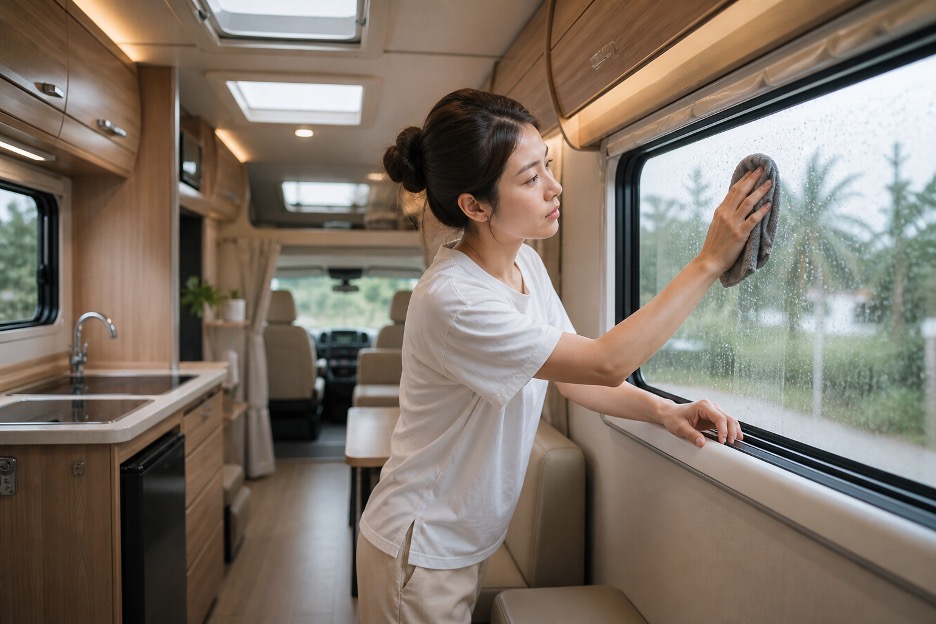
- Each morning: wipe condensation from windows and walls straight away, then check beneath mattresses, behind cushions and inside cupboards, especially after rainy nights. Lift damp bedding to expose the underside and leave a gap for airflow while parked, and do not remake the bed over a wet mattress base.
- Before packing or driving: make sure towels and bedding are properly dry. If the weather rules out outdoor drying, use a sheltered area or a laundry dryer.
Finish the evening with a quick look for wet gear and damp surfaces, and let the hygrometer reading decide whether to use powered drying if it is available. The whole routine takes minutes, and it works because it removes moisture before it has time to settle into fabrics and hidden spaces.
Check for rain ingress on arrival and store only when dry
After heavy rain or a wet drive, take a few minutes on arrival to inspect rooflights, windows, door seals and the interior surfaces around them for water tracks, staining or fresh damp patches. Repeated wetness in the same spot is a possible leak that needs repair. Do not hide it beneath furnishings, and do not assume a dehumidifier fixes the cause, because it only manages the symptom.
Before any between-trip storage, dry everything thoroughly, including mattress bases, cupboard corners and compartments against exterior walls, and take out damp textiles if necessary. A damp van shut up for weeks is exactly the setting mould needs.
Be careful with covers. Never close a damp vehicle under an unsuitable cover, because it traps moisture against the body; use a correctly fitted, breathable cover only once the vehicle is dry, and make sure it preserves the van’s designed ventilation. Finally, arrange periodic interior checks during storage, particularly after heavy rain, so trapped damp or renewed ingress is caught early.
If mould appears, fix the moisture source before cleaning
Address the cause first. Repair the rain ingress, remove wet belongings, or improve your extraction and drying, because cleaning alone will not stop growth returning.
For limited visible growth, follow cleaning guidance that suits the material, along with the manufacturer’s care instructions, since upholstery, timber, seals and hard surfaces do not all tolerate the same treatment. For advice on tackling existing growth, RV Parts Express’ guide to cleaning mould off your caravan is a useful reference, as long as you check that the method suits the affected material. Avoid assuming one product, bleach included, is right for everything, and never mix cleaning chemicals. Dry the treated area thoroughly before replacing fabrics or closing compartments.
Some situations call for a professional assessment, such as extensive or recurring growth, concealed growth, a persistent musty smell, or moisture-damaged panels. If it is a small, accessible patch, clean it appropriately and fix the moisture source; if it keeps coming back, or you suspect it is hidden, arrange an assessment rather than wiping it away again and again.


